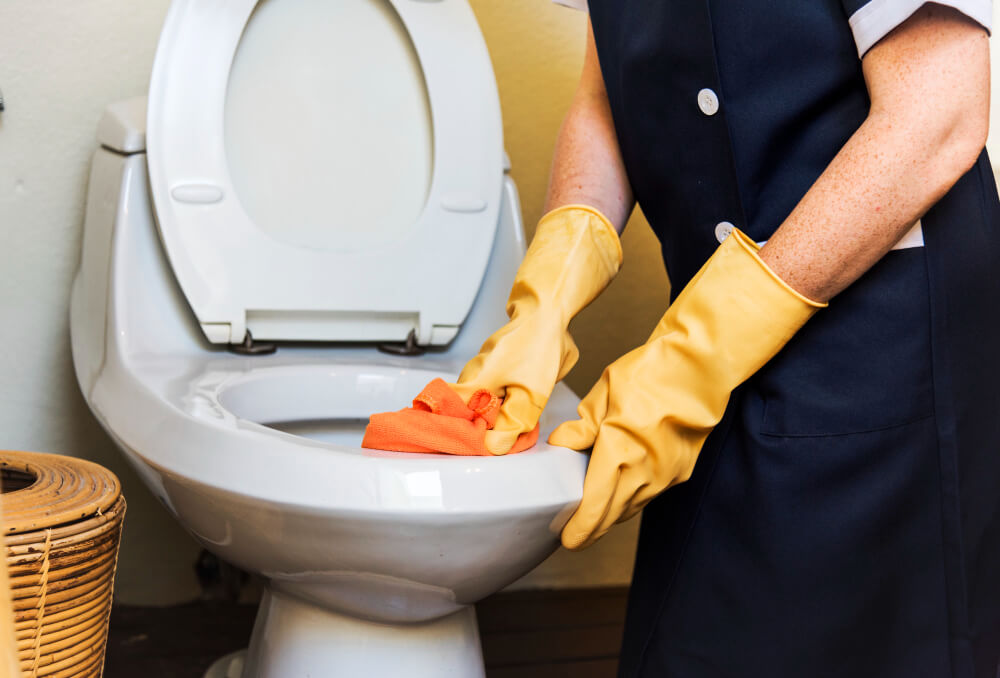
Are you tired of the annoying drip-drip-drip of a leaking shower tap that keeps you up at night and wastes precious water? Fret not! In this comprehensive guide, we’ll walk you through the steps to solve this common household issue: “How to fix a leaking shower tap.” From understanding the tools you’ll need to identifying the root causes of the problem and deciding whether to DIY or call in the pros, we’ve got you covered. So, if you’re ready to bid farewell to that persistent leak and enjoy a peaceful, water-saving shower, read on to become a shower tap fixing expert!
Table of Contents
Few things can be as annoying as the persistent drip of a leaking shower tap. Not only does it disrupt your peace, but it also wastes precious water.
6 Steps – how to fix a leaking shower tap:
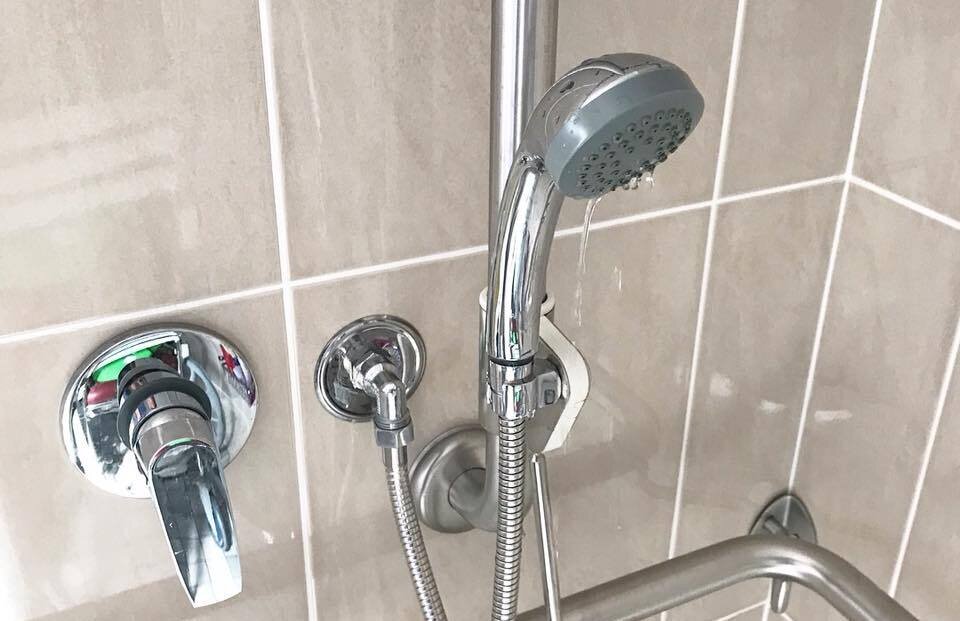
- Step 1: Cut Off the Water Supply: The first crucial step in fixing a leaking shower tap is to cut off the water supply. Locate the shut-off valve for your shower and turn it to the “off” position. This prevents any water flow while you work on the tap.
- Step 2: Remove the Tap Handle: Once the water supply is off, it’s time to get down to business. Unscrew the tap handle to gain access to the inner components of the tap. A simple twist in the right direction should do the trick.
- Step 3: Use a Spanner to Remove the Tap Bonnet: With the tap handle removed, the next part to deal with is the tap bonnet. To do this, you’ll need a spanner. Carefully fit the spanner onto the bonnet and turn it counterclockwise to remove it. This step may require some muscle, so be prepared.
- Step 4: Extract the Spindle: With the tap bonnet off, you’ll have access to the spindle. Remove the spindle carefully. It’s essential to handle it with care, as it’s a delicate part of the tap assembly.
- Step 5: Replace the Washer: If the culprit behind the leak is a worn-out washer, this is the moment to address it. Get a new washer and replace the old one.
Make sure it’s a suitable replacement for your specific tap model. - Step 6: Reassemble and Turn On Water: With the new washer in place, it’s time to put the tap back together. Reverse the steps you’ve taken: insert the spindle, reattach the tap bonnet, and screw the tap handle back on. Turn on the water supply again after everything is in its proper location.
What If the Tap Still Leaks After Replacing the Washer?
If, despite your best efforts, the tap continues to leak, there might be a more significant issue at play. The valve seat that the tap washer presses down on may be worn out, causing the persistent leak. In this scenario, consider reseating the tap with a reseating tool. You can find detailed tutorials on how to use such a tool on platforms like YouTube. If the problem persists even after attempting this, it may be time to consider hiring a licensed plumber to assist you in solving it.
What if the tap still leaks after replacing the washer?
The valve seat that the tap washer presses down on may be worn out if the leak persists even after the washer has been replaced. In this situation, you might attempt to reseat the tap with a reseating tool. YouTube has a comprehensive tutorial that explains how to accomplish this. If the problem persists, you might want to think about hiring a licensed plumber to assist you in solving it.
Can I use any type of washer for the tap?
The type of washer required for your tap depends on its type, size, and position. The term “washers” refers to a variety of materials and their functions, such as split lock, internal tooth lock, torque, finger, conical, dome, wave, split lock, and flat washers. Tap washers are frequently made of rubber, silicone, and fibre. Selecting the appropriate kind guarantees correct operation and no leaks. Seek advice from a qualified plumber or adhere to the manufacturer’s instructions.
What tools do I need to fix a leaking shower tap?
To fix a leaking shower tap, you will need the following tools:
- Adjustable wrench
- Flat-head screwdriver
- Tap spanner
- Plumbing tape
- Small knife
- Tap connectors
- Lubricants
How do I know if the tap cartridge needs to be replaced?
One possible cause of a leaking tap could be a malfunctioning tap cartridge. The following are some indicators that the tap cartridge needs to be changed:
- Water dripping: A broken tap cartridge may be the cause of water dripping from the faucet’s spout or around its handle.
- Turning the tap handle is difficult: A worn-out tap cartridge may be the cause of your difficulty turning the tap handle.
- Uneven water temperature: A malfunctioning tap cartridge may be to blame if there are regular variations in the water’s temperature.
How long does it take to fix a leaking shower tap?
The degree of difficulty and your degree of experience will determine how long it takes to fix a leaking shower tap. Fixing a leaking shower tap could take you one to two hours if you’re a novice. If you have experience, though, you might be able to solve the issue in less than half an hour.
The actual time needed to fix a leaking shower tap may differ based on the particular issue at hand and your degree of expertise, so please keep in mind that these are only approximate times.
What are some common causes of a leaking shower tap?
The following are some typical reasons why a shower tap leaks:
- Worn-out washers: The washer stops leaks by absorbing the force between the water pipes. A leaking tap may result from the washer wearing out over time.
- Corroded valve seat: The compression mechanism’s valve seat is what links the tap and spout. A leaking tap may result from corrosion in the valve seat.
- Loose parts: A leaky tap may be the result of loose screws, nuts or bolts.
- Cartridge damage: The cartridge regulates the water flow from the tap. A leaking tap may result from cartridge damage.
- O-rings that are worn out: An O-ring is a tiny disc that aids in tap sealing. A leaking tap may result from the O-ring wearing out over time.
Can I fix a leaking shower tap myself or should I hire a professional to do it?
Depending on the problem’s severity and your level of experience, you can decide whether to fix a leaky shower tap yourself or contact a professional. If the issue is little, like a worn-out washer, you might be able to solve it on your own with a flat-head screwdriver, an adjustable wrench, and a tap spanner. However, it could be advisable to engage a licensed plumber to remedy the issue if it’s more complicated, such a damaged cartridge or rusted valve seat.
How do I know if the problem is minor or complex?
Depending on the exact problem you are having, you can determine if your shower tap issue is simple or complicated. The following are some typical problems with your shower tap and how to fix them:
- Leaking tap: The cause of a leaking shower tap may be a worn-out cartridge, corroded valve seat, loose parts, or worn-out O-rings. If an old washer is the cause of the issue, you might be able to solve it on your own with a flat-head screwdriver, adjustable wrench, and tap spanner. To address a more complicated issue, like a rusted valve seat or damaged cartridge, it might be advisable to contact a licensed plumber.
- Poor water pressure: A buildup of debris and minerals on the aerator or spray diverter of your shower tap may be the cause of your poor water pressure. It’s difficult and takes the correct equipment to remove and clean the spray diverter and aerator.
- Turning the tap handle is difficult: A worn-out tap cartridge may be the cause of your difficulty turning the tap handle. Should this problem arise, it could be necessary to swap out the tap cartridge.
- Lack of water flow from tap: If you turn on your shower tap and there is no water flow, there may be a blockage caused by buildup inside the tap. If you have ancient shower fixtures or utilise hard water, mineral deposits are a regular problem that you will encounter. Dirt and debris can be collected from running water even in newly installed shower taps. Checking to see if your shut-off water tap valve is open will help you troubleshoot your tap. You will need to disassemble your tap and clean its chambers if the water is still not coming out.
How do I clean the aerator and spray diverter of my shower tap?
A shower tap’s spray diverter and aerator can be easily cleaned. Here are several actions that you can take:
- Take out the aerator: Usually found at the end of the tap, this part can be unscrewed with pliers or by hand. If it’s hard to get off, you can grasp it with a cloth and twist it in an anticlockwise direction.
- Soak the aerator in vinegar: Put the aerator in a small basin that has been filled with white vinegar. To get rid of any mineral buildup, let it soak for a couple of hours.
- Clean the aerator: After soaking, scrape the aerator with a toothbrush to get rid of any leftover debris.
- Clean the spray diverter: You can unscrew the spray diverter to remove it from the tap. It is located inside. After removal, use vinegar and a toothbrush to clean it and get rid of any mineral buildup.
- Reassemble the tap: After cleaning, put the tap back together and give it a test to make sure it’s operating correctly.
How much does it cost to fix a leaking shower tap
The degree of the issue and the kind of tap determine how much it will cost to fix a leaky shower tap. Fixing a faulty tap typically costs $270. Parts and labour costs are included in this. The average homeowner pays $200 to $330 for parts and labour. The type of tap, the source of the issue, and the required parts determine the final cost. The hourly fee for hiring a licenced plumber to repair a leaky tap often falls between $45 and $200.
Conclusion
In conclusion, mastering the art of “How to fix a leaking shower tap” is a task that can be managed with the right tools, knowledge, and a bit of patience. By following the steps outlined in this guide and understanding the common causes of leaking taps, you can save time, money, and the annoyance of a persistently dripping tap. Whether you’re a DIY enthusiast or prefer to call in a professional, the key is to identify the issue’s complexity and choose the most appropriate solution for a hassle-free shower experience. So, get ready to enjoy a leak-free shower and conserve water with these essential tap-fixing tips.